Strata | Sea-air-land
This is my submission for the Brigham Young University-Idaho Art Faculty Show (summer of 2013). 3 Inkjet prints, each print is 24 x 34 inches
detail
Diamond Point 1
Diamond Point 2
Diamond Point 3
Painting created using Skoughtee Texture No.001. Download
by Scott E Franson | size: 5x7 | media: digital
I have begun the last few paintings with an overall pattern (see Pinkerbell and Crayzan). Then I paint on top selecting the colors with the eye dropper tool. I am experimenting with this process as a way to create color harmony.
by Scott E Franson | size: 5x7 | media: digital
Never out of fashion, CaveGirl wears her new dress with bold poppy print on her first hunt.
 Bare Pare
by Scott E Franson | size: 5x7 | media: digital
by Scott E Franson | size: 5x7 | media: digital
Tweet Home
by Scott E Franson | size: 5x7 | media: digital
Potted Square
by Scott E Franson | size: 5x7 | media: digital

In my quest to discover new options and possibilities in digital art creation, I am always exploring the question of, “What if?”. The exploration today has led me to some interesting surfaces created with acrylic paint and a texture made with ink and a roller.
 The beginning of this process started with the idea of creating stencils similar to the ones used in silkscreen printing. I made several line drawings that included three layers with overlapping shapes. The image that I picked was simplified to three shapes. The process I wanted to experiment with required me to think in shape. I found it a challenge to think in shape while drawing with line. I knew that I didn’t want a key line to trap the different colors and that I wanted to have areas of overlap so that there was a possibility of visual color mixing.
The line drawing was on a piece of 8.5 x 11 paper. I placed the page on a light table with a clean sheet of paper on top of it. Then I used black acrylic paint to paint one of the three shapes. I repeated this process until I had finished each of the three shapes.

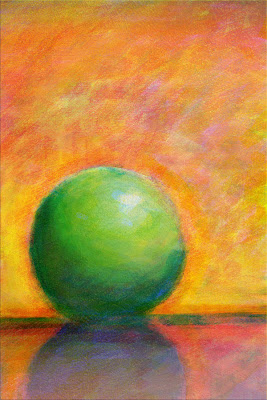
I like to watch pixels change color on the screen. It is much better than TV and it is very relaxing. Oasis is an experiment simulating pastels. The process uses a brush with an applied texture. The scale of the texture is changed frequently so that the colors underneath show through. I used the polygon lasso tool to select different areas and add the hard edges that give the image its geometric look.
 This image is a preliminary experiment for the A-line series I did for a faculty art show last fall. I have always liked it and felt that it was a good match for this weeks Illustration Friday.
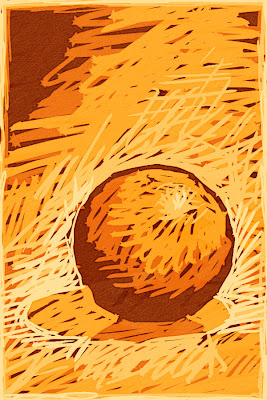
In photoshop, I use a layer for each color. I am using the multiply mode on each layer so that the colors look like they have been overprinted. I added a slightly different texture to each layer so that the color would build up in a more natural way. I started each layer with a solid block of color and then used the eraser tool with a hard edge brush to remove the area that I didn’t want to print. It makes it feel like a woodblock print.
Layer 1 is a white background layer.
 I am trying a new process that uses ink washes. Next semester I will be teaching the digital illustration class and I am working on some new possibilities.
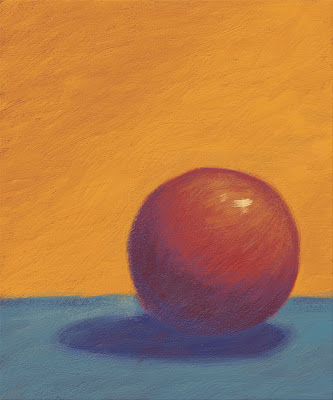
 I am not a painter, but here is my attempt at oil paint in Photoshop (with some tips from Dan)
 This experiment involves four layers: a white background layer, cyan, magenta, and yellow. The three color layers are set to multiply (mode). It was interesting trying to construct an image by creating each color separately.
 I am experimenting to see if I can reproduce some of the techniques of printmaking in Photoshop. This is my attempt at a reduction print.
 This brush stroke is made with the Hard-Round 19 pixles brush.
 This texture is scanned from a board that I textured with gesso. When the gesso dried, I painted over the complete surface with a thin acrylic wash of black. The paint settled into the low areas of the gesso. (The boards that I paint on are 8.5 x 11 so that they will lay flat on my scanner. The textures are scanned at 300ppi)
Once the texture is scanned in—Select All>Edit>Define Pattern—The texture will be added to the end of your pattens pallet.
 This brush stroke is made with the same Hard-Round 19 pixels brush, with the following changes in the brushes palette. I selected texture, selected the new texture from the patterns palette and changed the brush mode to Multiply.
 This brush stroke (red) is made with the same Hard-Round 19 pixels brush, with the mode changed to Subtract. Notice that it is a is opposite.
This is a combination. The green is the brush with the mode set to multiply and the red is the same brush with the mode set to subtract.
This is a very basic concept. Give it a try and let me know if you have any questions.
I like the wash on the carrots. I wish I could take digital illo from you.
woot!
When you start doing online classes let me know, I'd love to learn from you.
=o)
Roz
I really like the little details in the texture. I'd like to learn more about ink.
As always I want to know more. Ink washes in Photoshop? Is it additive, reductive?
The possibilities look cool!