
I’d been wanting to do this for ages and finally tried it. There are lots of ways it’s been done—-most notably, of course, Japanese furoshiki. And there’s lots of ways I’d like to try making wrapping cloths, but this time, I just made a simple rolled hem on rectangles of fabric. Directions for “cheater” rolled hemming here. Thank you, Pinterest for that great tutorial via Meg of elsiemarley.com.
The Santa and angel fabrics are thrifted linens (already hemmed) from my favorite thrift shop in Hannover, Germany where we lived the last couple of years. And the new green and red stripey fabric is from Joann’s.
To wrap, I just folded the fabric and held it in place with the ribbon. Easy peasy. They wouldn’t hold up to a toddler’s inspection, but they’ll work fine for us.


This is one of those last-minute inspirations that happened to work out. I was trimming bits from a Christmas sewing project (to be pictured later) and had all these great strips of cheery prints. It seemed a shame to waste them.
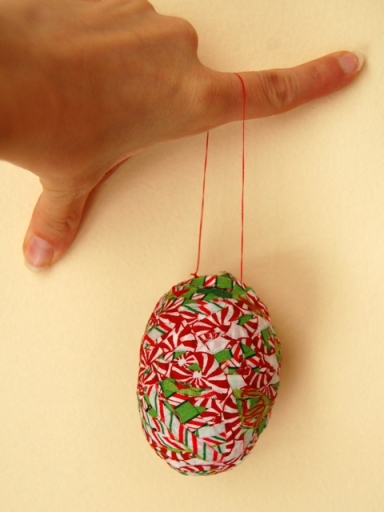
I grabbed a balloon, blew it up just a little (you could do a bigger version if you wanted) and tied it off. Then I made a water-and-Elmer’s-glue mixture, dipped the strips, and wrapped them around the balloon, just like papier mache—-only one layer of strips, though. I left a few holes here and there, but if I had to do it again, I’d leave more holes for effect.
This would be a great quick craft to do with older children, though of course you have to be able to stomach glue mess. Not a problem in my case.
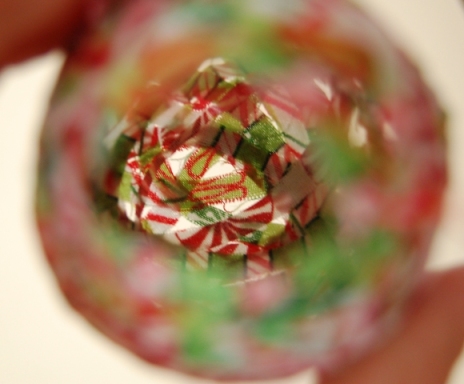
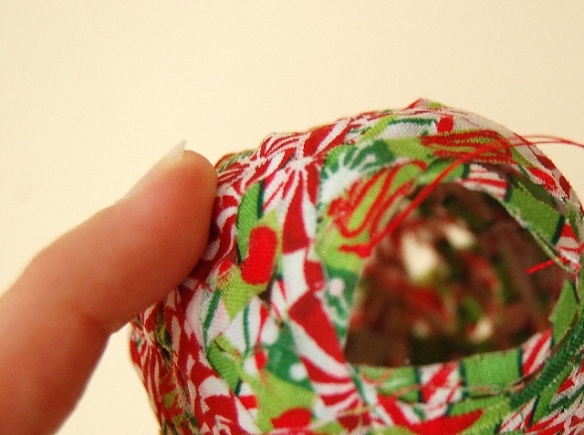
Family members who shall remain nameless were skeptical, but in the morning, when the glue was dry and the balloon popped, it DID actually detach from the cloth and leave this little egg-shaped vessel. It could’ve dried a bit more, though. Make sure it’s dried ALL the way for best results.
Then you just make a thread hoop/hanger thingy and presto! change-o! You’re done.


Very cute! I might try making one with my niece.
Let me know how it turns out if you do!