


.jpg)
.jpg?picon=1009)
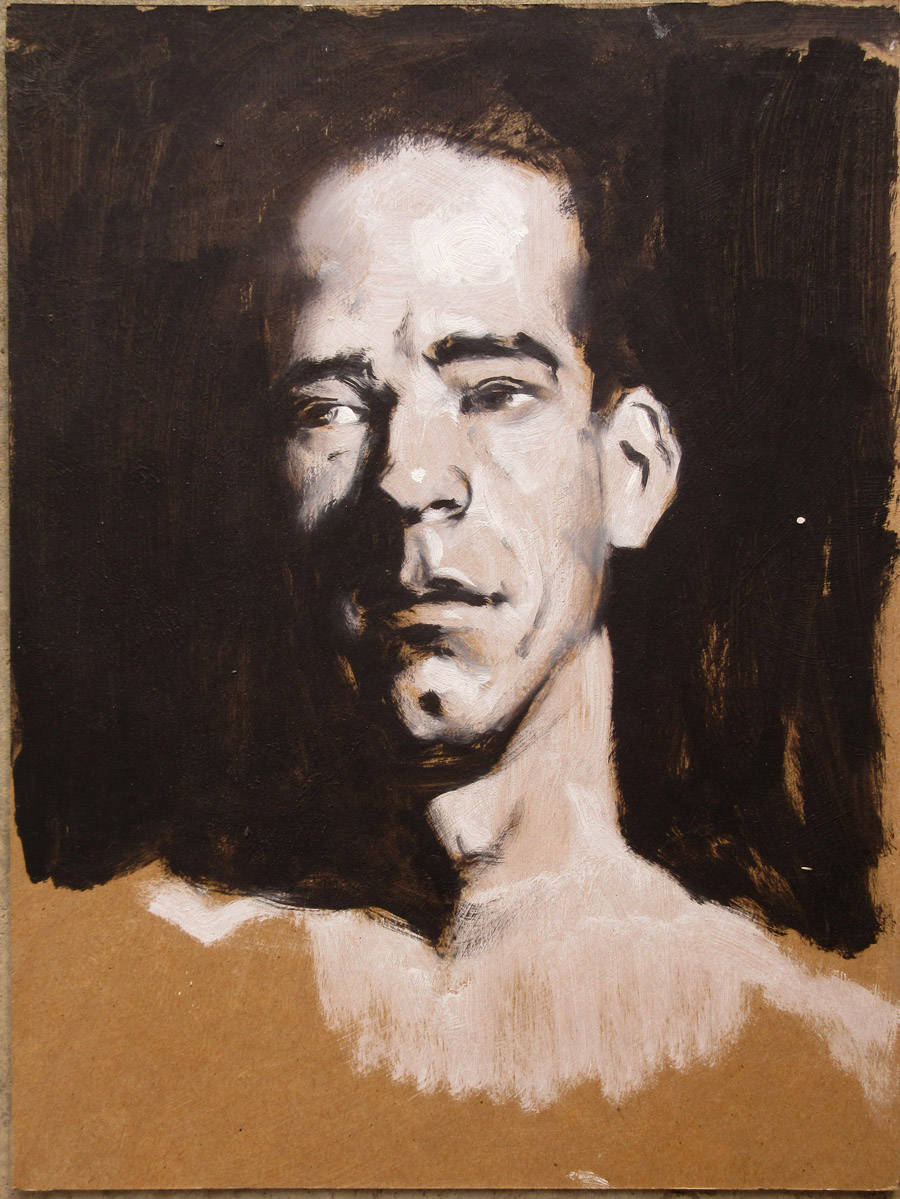
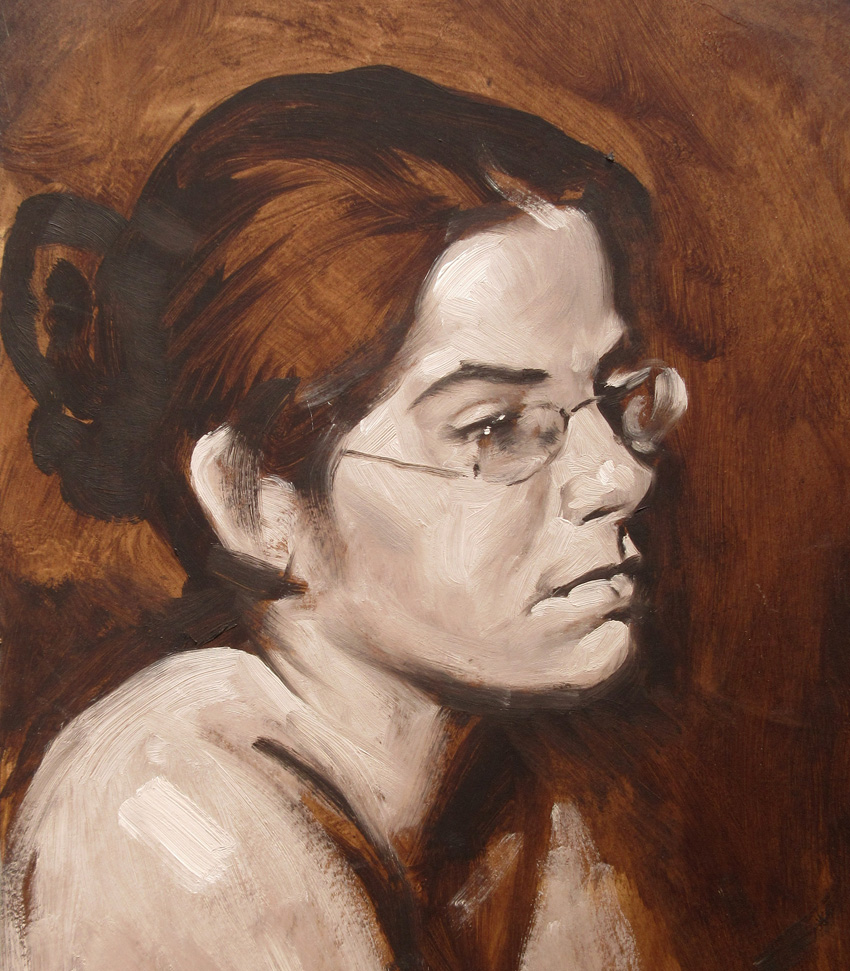
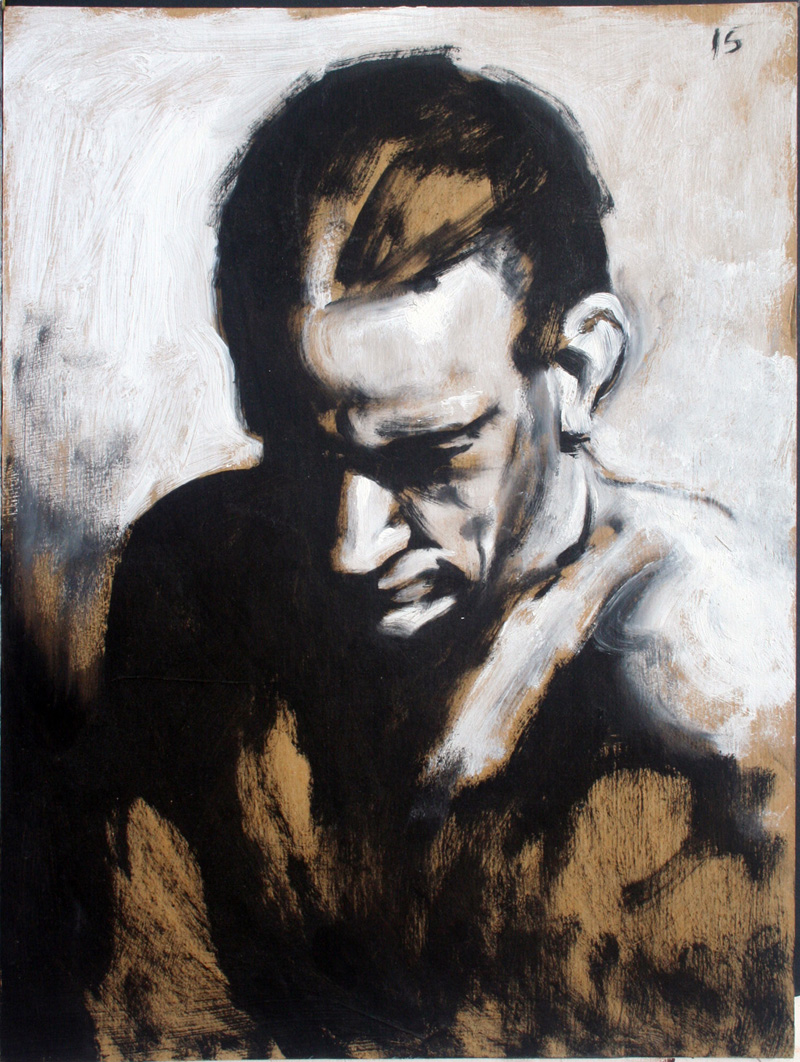
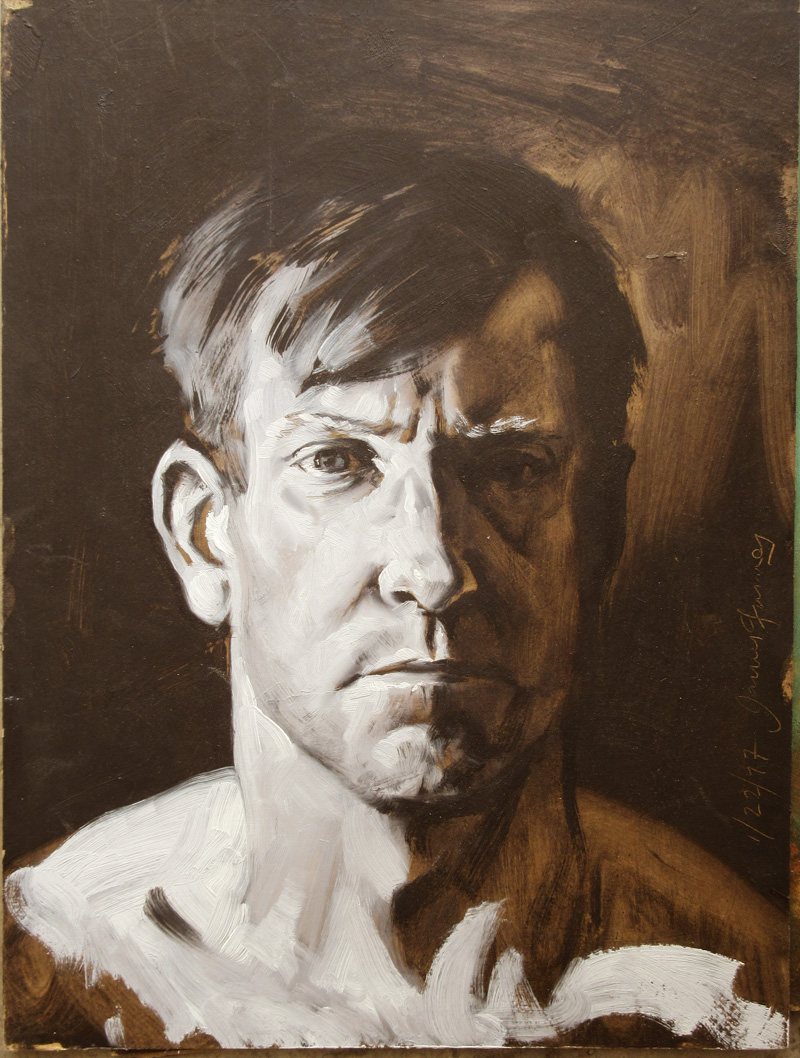
A helpful exercise to push your awareness in this direction is the High Contrast Study. Here's how to do it.
Material Prep before the Painting Session
1. Find some 9x12 inch medium brown chipboard. You can also use mat board scraps (ask your framer), heavy brown paper, or even corrugated cardboard. The tone or color doesn't matter that much, as long as it's not black or white. Don't use precious or expensive materials.
2. Seal the surface completely with a layer of acrylic matte medium, brushed on freely.
Material Prep at the Painting Session
1. Use two #4 or #6 bristle filbert brushes, one for white and one for black.
2. Use titanium white and black oil paint, and keep them separate. You can "dirty up" the white just a little bit so that you have a little room for highlights, and you can mix the black with a little umber if you want, but don't put any white in your black.
Model Prep
1. Use a single light source on the model, and try to reduce secondary light sources such as reflected or fill light. This exercise doesn't work if there are multiple light sources. And make sure there's some light on your painting so you can see what you're doing.
2. Set up an simple background, either mostly light or mostly dark.
2. Position yourself in relation to the model so that some of the model's form is in light and some is in shadow.
3. Keep the sessions under an hour. The examples in this post were done in 15-20 minutes each.
Process
1. Use the "black" brush to draw the lay-in, then mass in the shadows. After those are in, begin massing the lights.
2. Use black for all the areas in shadow, and white for all the areas in light.
3. If two areas of shadow come together, shape-weld them together with the black.
4. If two areas of light come together, group them together with white.
5. Try to avoid outlines.
6. Don't do too much blending at the transition between light and shadow.
7. You can leave some areas of the background tone of the board showing, but not too much.
Next Steps
1. After doing this exercise in its purest form, you can allow yourself a little variation within the shadows and a little within the lights, but keep those variations very close in value, and don't be seduced by middle tones.
2. Replace the black with a more mid-range color, so that you do the same exercise but within a narrower value range. I'll show examples of this in the future.
0 Comments on How to Paint a High-Contrast Study as of 1/1/1900
Add a Comment