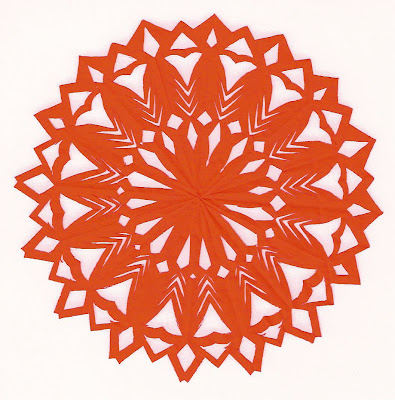
 I'm not sure why, but I always have urges to do cut paper crafts at Christmas (which is why the floors are always covered in tiny scraps at the holidays).
 The two paper cuts above were leftovers from a flurry I cut one year to decorate packages. They're basically just the snowflake idea. I precut thin paper (these were origami paper) into a circle, folded it in half (right sides together), in half again, and then into thirds and then cut patterns out freehand. There are a few simple tips that may help you make especially intricate ones: first, do the folding carefully and press the creases well (you can even iron them). Second, have a mixture of large cut away areas and others that are narrow and repeating. Be sure to use very sharp scissors; I use embroidery scissors. (Though check out these amazing Polish paper cuts that were traditionally made with sheep shears!) Finally, take care not to tear delicate areas when you unfold them. (Small tears can be repaired by gluing narrow support pieces to the back of the paper cut.) I always iron my finished piece flat.
 The paper cut above was done by my oldest son when he was almost 10, and the similar one below was cut when he was not quite 5. You can see he gained a lot of skill in the years between. In both cases, I folded a piece of paper for him (right sides together) and drew one image onto the wrong side, making sure I had an area of join along the fold. By 10 he was able to cut the design out pretty accurately by himself. I showed him how to trim the excess paper close to the drawn lines and then to cut into tight areas, removing sections at a time, rather than trying to cut along the whole perimeter. When he was younger, I held
 The paper cut above was done by my oldest son when he was almost 10, and the similar one below was cut when he was not quite 5. You can see he gained a lot of skill in the years between. In both cases, I folded a piece of paper for him (right sides together) and drew one image onto the wrong side, making sure I had an area of join along the fold. By 10 he was able to cut the design out pretty accurately by himself. I showed him how to trim the excess paper close to the drawn lines and then to cut into tight areas, removing sections at a time, rather than trying to cut along the whole perimeter. When he was younger, I held
1 Comments on Cut Paper Christmas, last added: 12/22/2009
Display Comments
Add a Comment


love the shaggy paper trees! the paper cutting is beautiful but looks a bit too intricate for me ;) Definitely storing away the tree idea, however, for next year's gifty ideas!