What is JacketFlap

  • JacketFlap connects you to the work of more than 200,000 authors, illustrators, publishers and other creators of books for Children and Young Adults. The site is updated daily with information about every book, author, illustrator, and publisher in the children's / young adult book industry. Members include published authors and illustrators, librarians, agents, editors, publicists, booksellers, publishers and fans.
    Join now (it's free).

Sort Blog Posts

Sort Posts by:

  • in
    from   

Suggest a Blog

Enter a Blog's Feed URL below and click Submit:

Most Commented Posts

In the past 7 days

Recent Posts

(tagged with 'boys clothes')

Recent Comments

Recently Viewed

JacketFlap Sponsors

Spread the word about books.
Put this Widget on your blog!
  • Powered by JacketFlap.com

Are you a book Publisher?
Learn about Widgets now!

Advertise on JacketFlap

MyJacketFlap Blogs

  • Login or Register for free to create your own customized page of blog posts from your favorite blogs. You can also add blogs by clicking the "Add to MyJacketFlap" links next to the blog name in each post.

Blog Posts by Tag

In the past 7 days

Blog Posts by Date

Click days in this calendar to see posts by day or month
new posts in all blogs
Viewing: Blog Posts Tagged with: boys clothes, Most Recent at Top [Help]
Results 1 - 3 of 3
1. Freezer Paper stenciling is easier than it looks...

So I don't say things like this very often "easier than it looks", often I end up cursing new projects.  I thought it was super easy with pretty instant results. It took me too long to try this I wanted to give anyone who was thinking about a little push. I actually did these shirts in May but finally took the "after" shots the other day to post them. By the way great gift idea for Christmas....watch for shirts on sale now.

There are lots of great tutorials to read if you search, so I won't go into too many details.  My basic tips are:

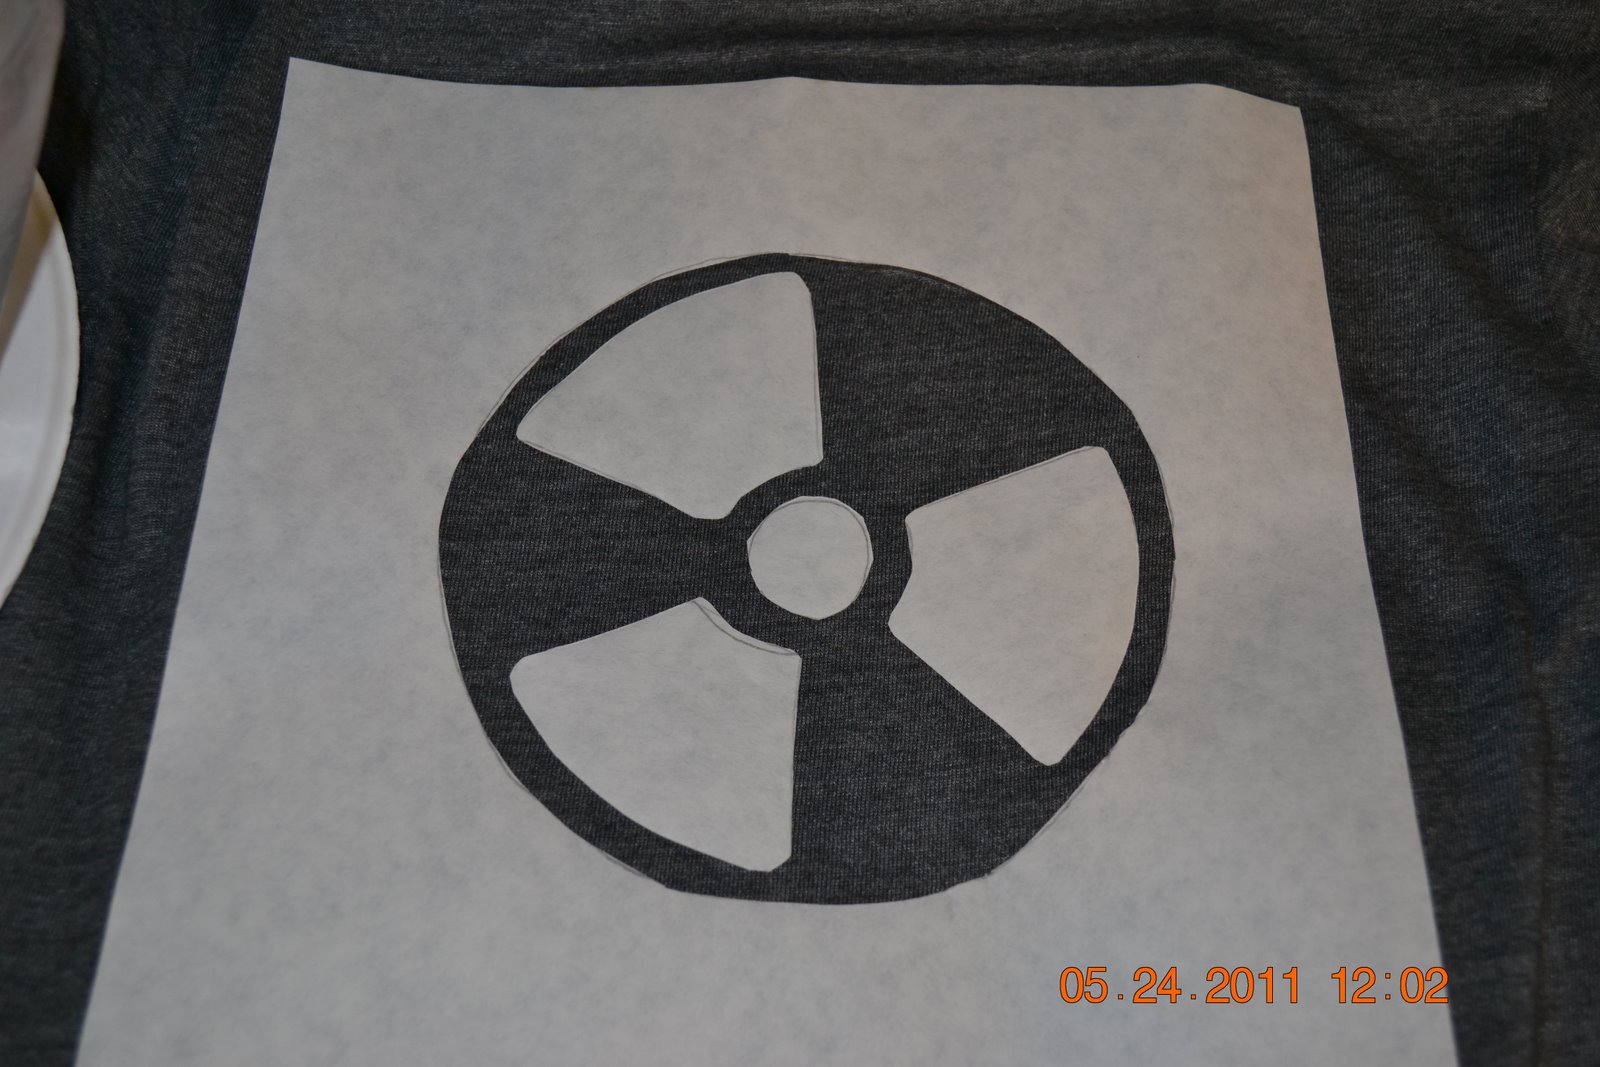
1. Keep the design simple and easy to cut out - here I did the sign for fish ladder (are these signs anywhere else but near Seattle? Go salmon!) and a simplified radioactive symbol.
2. Print then trace design onto the freezer paper, use a craft knife to cut out the area where you want the paint to show.

3. Lay t-shirt flat, put a piece of cardboard or thick paper inside the shirt to prevent paint seeping through (see red shirt collar?). Put freezer paper shiny side down and iron onto the shirt.


4. I dumped the paint onto a plate then used a sponge brush to dab paint on the shirt. Don't rub the brush that will pull the material.


My kids love these shirts (oh the basic shirt is from Old Navy - ringer tees I think they were 2/$10). It fun to have a shirt that no one else has and I like the simple designs. 


If you have even thought about this, definitely try it, it would be easy on totes, aprons and dishtowels.  So I have to thank Melanie from the Cain Family, who left me a comment in Feb 2009 and told me to try this and how fun it was. That was the first I'd heard of it and I can't believe it took me until this year to try it! Silly me.
2 Comments on Freezer Paper stenciling is easier than it looks..., last added: 10/12/2011
Display Comments Add a Comment
2. Dragon Tee

A little birthday present for the boys' friend who loves dragons,  E and C helped with the design.  The best part is I've seen the little boy at school twice wearing it! (Iron-on applique and red stitching). E is modeling for me.
Posted by Picasa

5 Comments on Dragon Tee, last added: 4/9/2011
Display Comments Add a Comment
3. T-shirt re-do


I should have taken a before picture, because these two tees don't look too exciting. The boys had some cute pirate tees they outgrew - even pirates shouldn't have their bellies hanging out. I couldn't quite let go, so I chopped them up and reapplied them to some larger, plain tees. On the left I did a reverse applique, pinning the skull on the underside of the shirt and stitching around the bones and eyes with turquoise thread. The right shirt is a simple flag style (AKA rectangle). I left out a raw edge and sewed with red thread, changing stitches on my machine as a went, some zig-zag, straight, buttonhole style even. (click for close-up)

My sentimental self was so relieved not to have to part with the old shirts :)
Posted by Picasa

4 Comments on T-shirt re-do, last added: 3/26/2011
Display Comments Add a Comment