


Zim & Zou are Lucie Thomas and Thibault Zimmermann, they are two french artists based in Nancy. They use handcrafted objects to make beautiful colourful installations. They studied graphic design for three years whilst at art school, but their studio works in a variety of multidisciplinary ways incorporating illustration, graphic design and paper sculptures. There favourite material to use is paper, making everything by hand.
To find out more visit their website and Behance.
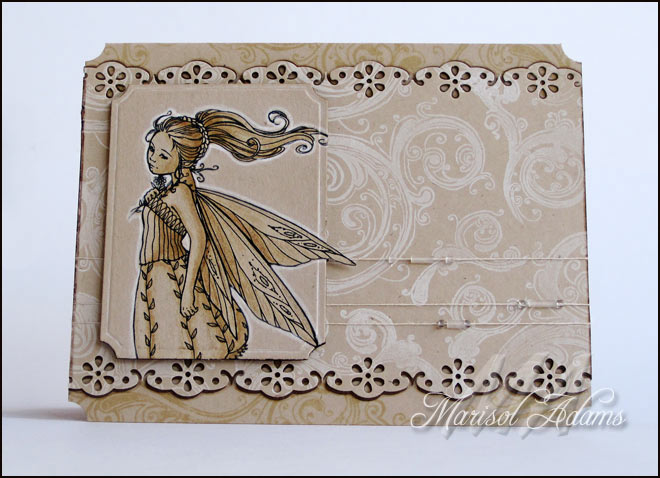
Have you ever Googled yourself? I do. It might look pretentious, but it really gives an insight to where your name is being used, and for me that includes my art. Thankfully I never find much of anything except for my own posts AND these gorgeous cards!
I license out my images to an online craft store called Crafts and Me based in the UK. She sells digital stamps and some rubber ones too. On her blog they host challenges for those who love to make their own cards and paper crafts.
You can find all of my digital stamps here ☞ http://www.craftsandme.co.uk/-c-218_240.html
Find my rubber stamps here ☞ http://www.craftsandme.co.uk/-c-290_211.html
It always gives me the biggest smile when I see these. Be sure to visit their blogs for more lovelies and inspiration!
Here are some places that you could make cards and enter into challenges, how fun is this!
Fantasy Stampers Challenge Blog -
http://fantasystampers.blogspot.com/Your Next Stamp -
http://yournextstamp.com/blog/Simon Wednesday Challenge Blog -
http://www.simonsaysstampblog.com/Treasured Times Rubber Stamp Challenges -
http://treasuredtimesrubberstampschallenges.blogspot.com/Stamptacular Sunday Challenge Blog -
http://stamptacularsundaychallenge.blogspot.com/• • • • • • • • • • • • • • • • • • • • • • • • • • • • • • • • • • • • • • • • • • • • • • • • • • • • • • • • • • • • • • • • • • • • • • • • • • • • • • • • • • • • • • • • • • • • • • • • • • • • • • • • • • •
Have a Blessed Monday!
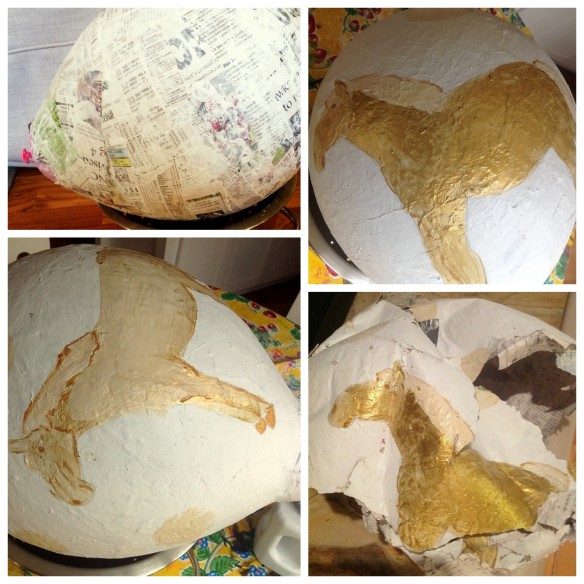
My daughter wanted a horse piñata* for her party, and I decided I wasn’t spending $25 for a tiny unfilled horse-shaped one from Party City. I thought I was making things simple by making a balloon-shaped pinata with a horse on it, but of course it all ended up taking a lot more effort than I realized.
Still, though, I loved the thing while it lasted. I started with the instructions here, but somewhere along the way I went off script and in the end, the mechanics didn’t really work. It was too heavy, and there was no way to hang it, so I wedged it into the v-shaped crux of our neighbor’s tree trunk. It worked, what can I say?
Drawing the horse on the balloon shape turned out to be the hardest part since I couldn’t see the whole animal at once and had to keep rolling it back and forth to look at the different parts. I followed the drawing guidelines in Sachiko Umoto’s Let’s Draw Cute Animals. Such a fun drawing book, btw, for kids or adults.
Speaking of drawing and painting, my new neighbor came over for the party with all her polish paraphernalia and painted nails for any of the girls who wanted it. Wow! There was also a round of Pass-the-Parcel and Tap-the-Pot. Lots o’ prizes.
My boy (6) has recently gotten turned on to reading via sister’s recommendation of early reader versions of The Boxcar Children. Mind you, not fabulous literature, but boy is it fun to see those “I love this book!” sparks fly. I always loved the Boxcar children myself.
Proud moment: he read while walking home from school. No injuries—I was right there with him and it was really just a moment until he finished the book he’d already started. I just ordered him several used Boxcar easy readers as an end-of-the-school-year present. And I’ll figure out some version of a similar gift for my daughter. We go to the public library a lot in the summer, but it’s always handy to have a large stash of used paperbacks for travels. Goodwill and the used bookstore are great for that. Anything to keep them feeling excited about reading, really. The school is doing a book exchange, too, so I’m hoping especially Little Miss will trade out some of her old fairy books or whatnot for some new-to-her stuff.
I’m still enjoying Gary Shteyngart’s Little Failure and just bought a copy of The Divorce Papers, which I’ve been told is in the vein of Where’d You Go, Bernadette? (which I love love loved). What’s on your summer reading list?
*Sorry, folks, neither WordPress nor my keyboard will let me type a proper ñ in my title text box.


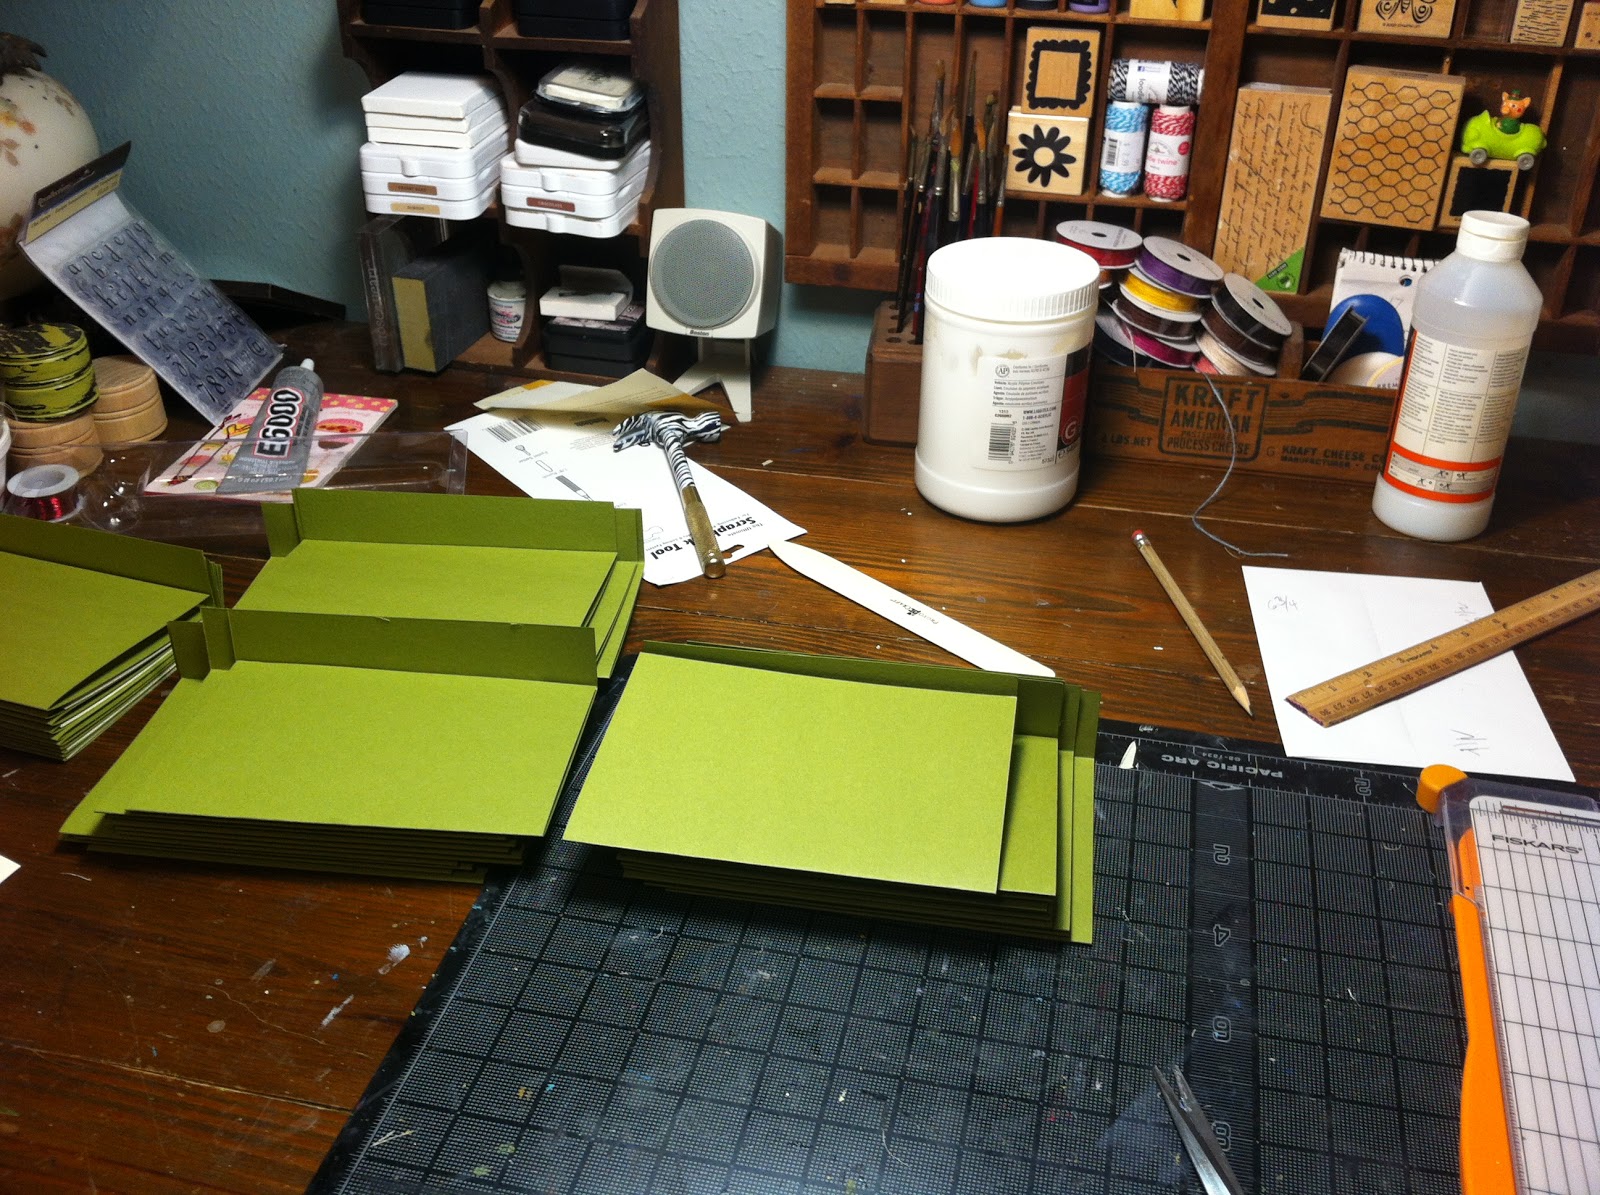
My girlfriend is getting married in May and I am doing her invitations. I have been slowly working on them but today I really rolled with it. My back is so sore and it's time for a break.
The invites are like a little book...very cute. I will show you when I finish. My fluffball cat Madi was keeping me company warming her belly under the lamp.
Follow me on
Facebook and you will get this print for free in February.
For those of you more interested in making
pretty Valentines with your kids than the humorous bodily-noises variety I featured in yesterday's post (
here), I bring you a technique that's:
- relatively easy (though a tad time-consuming),
- relaxing (a good project for while you watch TV or chat with friends/family),
- versatile,
- inexpensive, and
- impressive-looking
It also goes well with chocolate! What more can you ask for?
(I apologize for the blurry photo above. It was the only one I had of a quilled Valentine I made for a friend last year. I nearly always forget to photograph our Valentines...)
Although I'd fooled around with quilled pictures as a kid, it was an article on breathtakingly beautiful quilled Valentines in a February issue of Martha Stewart Living a few years back that sparked my interest in trying it again. You can still find step-by-step descriptions of the how-to, as well as suggestions for an assortment of quilled Valentine crafts on her website
here.
I'm not going to repeat the full how-to since I don't think I could do it better than Martha, but I'll outline the materials and basic steps I used to make the Valentine above. Then you can make your own version - one of the great things about this craft is that you don't have to be a confident artist to come up with your own lovely designs or make something that looks remarkably polished.
Materials and Tools- Paper To make the Valentine above, I cut strips from bright copier paper and lightweight cardstock. (You can purchase special strips in different widths intended for quilling, but they tend to be expensive. Since uniformity is not crucial for this project, I'd go cheap.) You'll also need a piece of heavyweight cardstock or a blank card for the background. If you don't have colored paper, don't fret: white-on-white quilling looks elegant.
- Paper cutter Or a ruler and steady hand to make your strips. (Or quilling paper already in strips.)
- Scissors For adjusting length and fringing. It's nice to have decorative scissors that scallop the edge before you fringe, but they're not essential
- Glue Ordinary white glue is perfect. (I apply it sparingly with a toothpick.) A glue stick can work too, but may not hold some of the heavier blossoms.
- Curling tool You can buy commercial quilling tools (see here), but a skewer or skinny knitting needle works pretty well too. (Inna Dorman on her interesting kids and craft blog Inna's Creations also has instructions for making a simple but effective quilling tool here.)
- Tweezers (optional) Help keep glue off your fingers and creations, but not essential unless you're working very small.
Steps- Make a heart "frame" I used my paper cutter to make a long strip of 1/4" cardstock, folded it roughly in half and then curled the loose ends toward each other, glued them together, and bent them into a loose heart shape. I applied glue to the edges with a toothpick and arranged the heart&nbs


.png.jpg?picon=3640)


.jpg?picon=1679)


You're an awesome friend for making the invitations, My son recently married so I know the work that goes into it!
I hope you're back feels better soon!
Tammy
HOT. love!