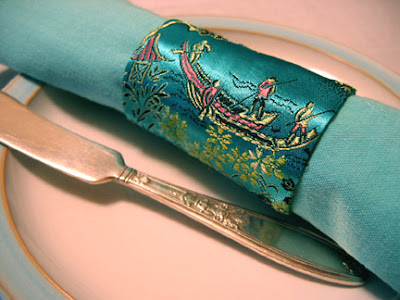
 This is a nice little project that you can do quickly and use up some of those bits of fabric. If you've been working on something big or complicated, it makes for a nice break. This is also an excellent beginner's project.
It started with a set of eight blue napkins I found at Goodwill, they were such a pretty blue and nice soft cotton fabric. I've had a small piece of turquoise pictorial satin that made a beautiful combination. I'd been saving this scrap but never knew what to do with it. It's a bit droopy, so I paired it with a fairly sturdy plain turquoise cotton for the backing. I'm not crazy about interfacing, I use it sometimes but I didn't want to here. You could though if you want to really make your rings crisp.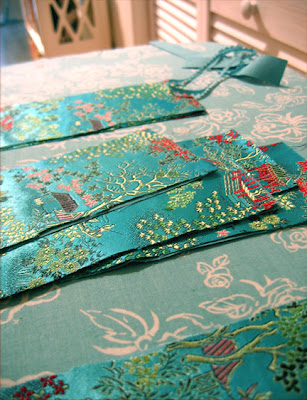 Step 1: (above) cutting out your fabric. I wanted eight rings so I cut eight strips of fabric as large as I could from the little piece I had, then eight matching pieces for the backs. (You could use the same fabric for front and back of course - in which case you would just cut one piece and fold it in half lengthwise). The pieces should be around 6" long to go around a typical napkin, and it's up to you how thick to make them. My pieces were cut 3" wide, for a 2.5" finished size. I wanted them to be large enough to see the little scenes in the fabric.
Step 2: Place right sides together and pin in the middle. Then sew down each side, with a 1/4" hem. Step 3: Turn the ring right side out
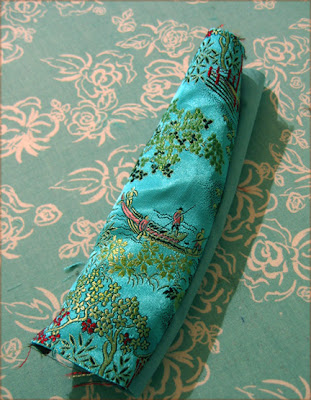 Step 4: Press flat. Then tuck inside a 1/4" hem on one side and press. Then tuck the other end in to make a loop. Pin in place. Handsew together using blind stitch. I sewed the outside, then turned the ring inside out to sew the inside. As you go you can tweak the way it's tucked together to make it neat.
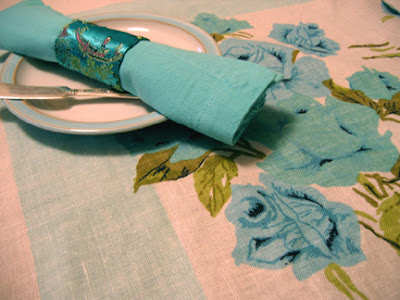
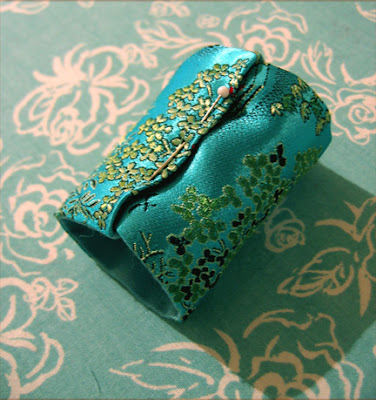 Done! I love how they look with this vintage linen tablecloth. I found this one at the St. Lawrence antique shop for $10.
new posts in all blogs
 By: Claire Louise Milne,
on 10/16/2007
Blog: Needle Book (Login to Add to MyJacketFlap)
JacketFlap tags: tutorial, sewing, crafts, fabric, vintage, napkin, rings, satin, linen, Add a tag
Viewing: Blog Posts Tagged with: satin, Most Recent at Top [Help]
Results 1 - 1 of 1
Blog: Needle Book (Login to Add to MyJacketFlap)
JacketFlap tags: tutorial, sewing, crafts, fabric, vintage, napkin, rings, satin, linen, Add a tag
2 Comments on Easy peasy napkin rings tutorial, last added: 10/16/2007
Display Comments
Add a Comment


very pretty
love the linens too
this would make a lovely gift as well
aww so pretty...love the blue color scheme.